In this post, you will be learning about How to Install and Configure File Screening using File Server Resource Manager (FSRM) on Windows Server 2019.
Why File Screening?
File screening management is a feature that allows you to control the type of files that users can save and send notifications when users try to save a blocked file.
Test lab setup:
- WS2K19-DC01: Domain Controller and DNS.
- WS2K19-FS01: File Server.
- WS10-CLI01: Windows 10 Client Machine.
Install FSRM role on the file server:
1. Open Server Manager Console.

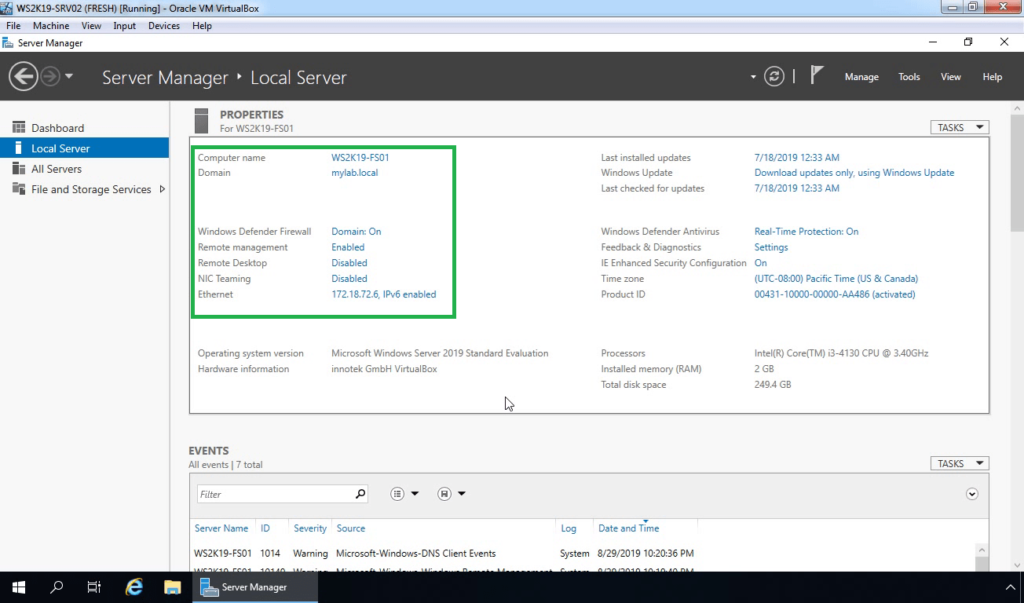
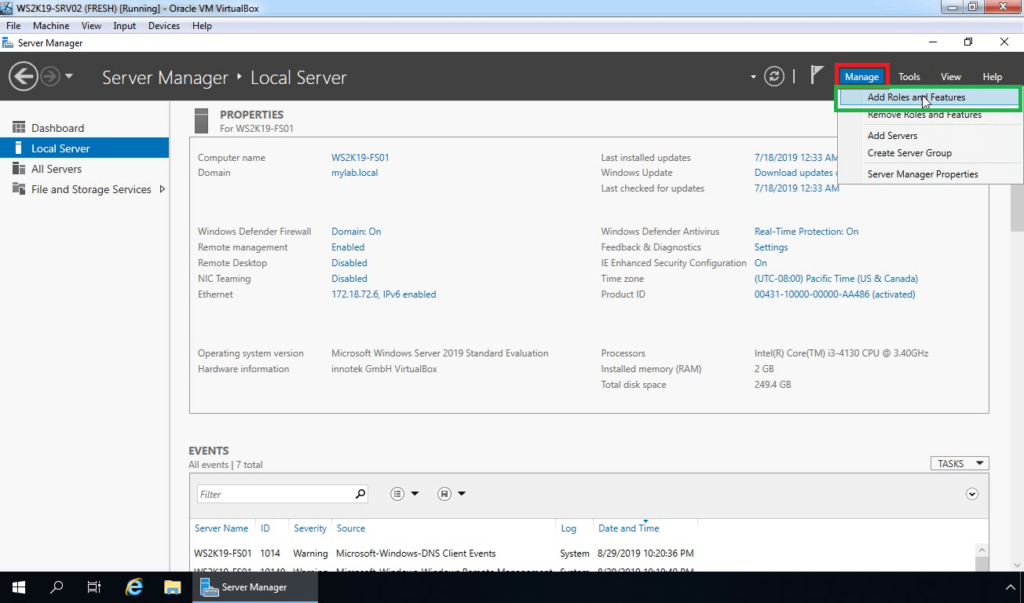
2. On Server Manager dashboard, click on Manage and select Add Roles and Features.
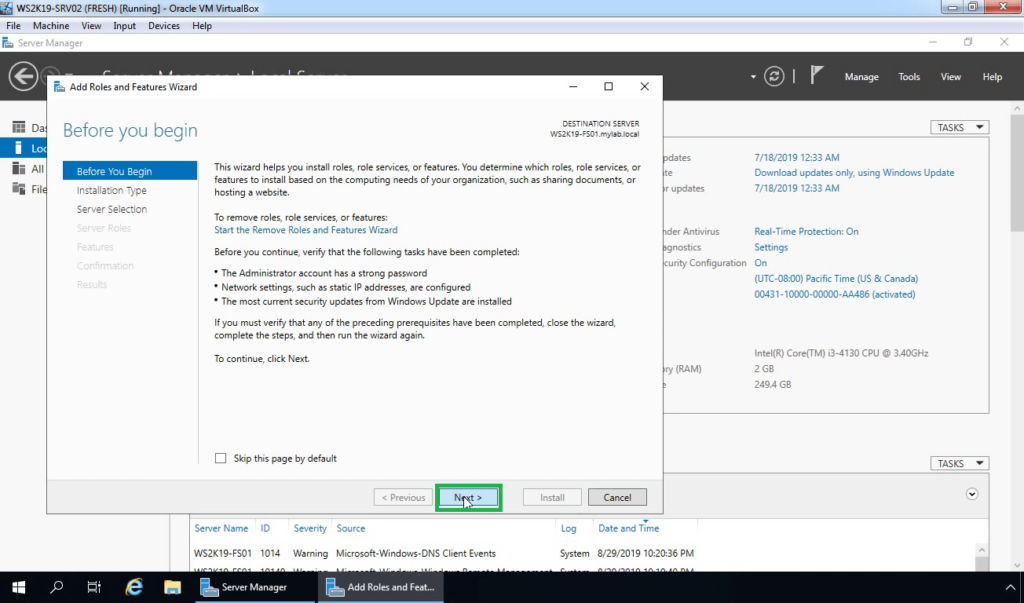
3. On the Before you begin page, click Next.
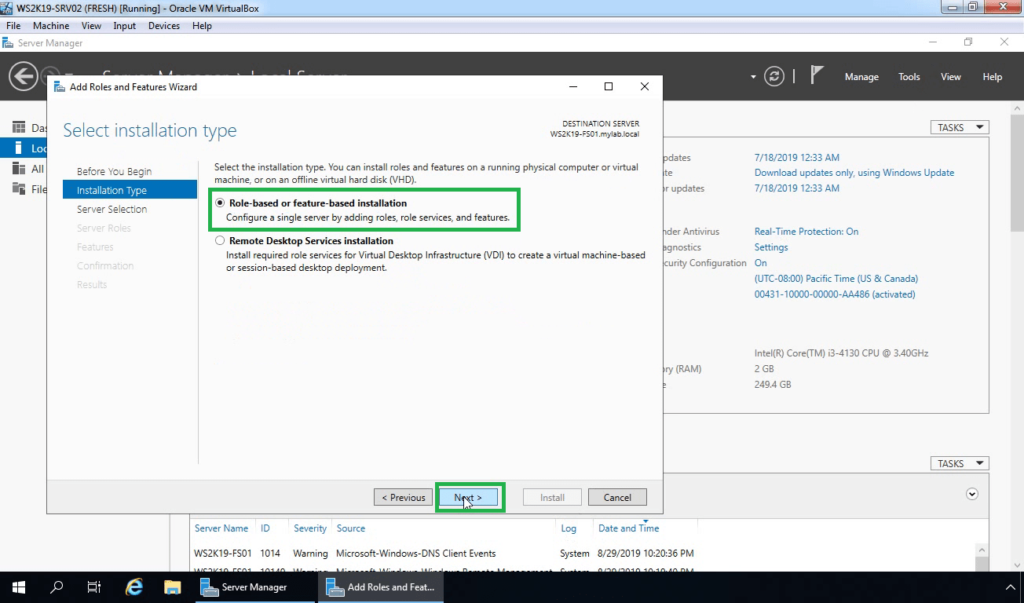
4. Select Role-based or feature-based installation and then click Next.
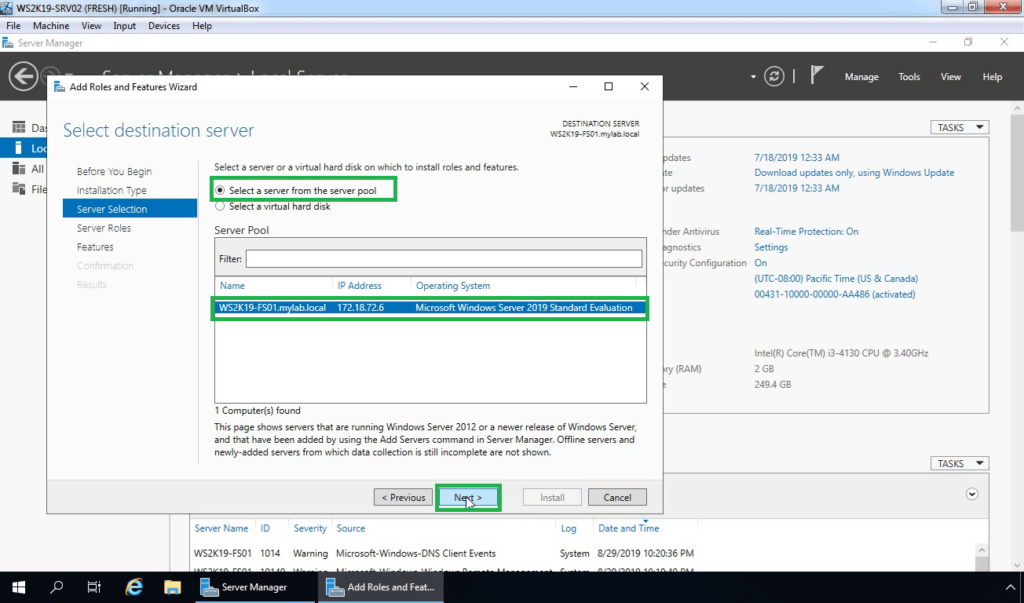
5. Select a server from the server pool to install FSRM to, and then click Next.
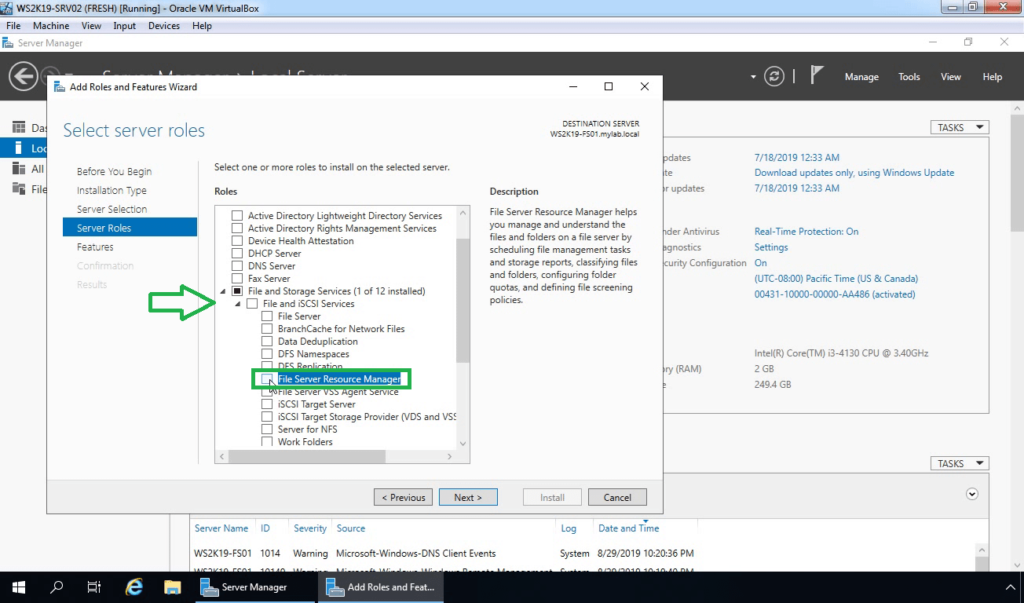
6. Expand File and Storage Services and expand the File and iSCSI Services. Select File Server Resource Manager.
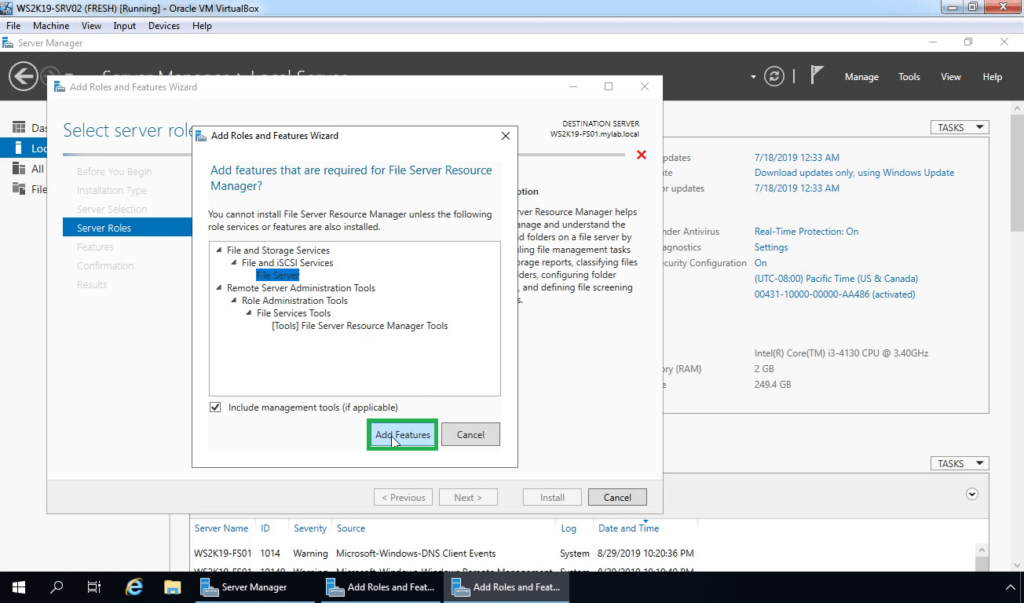
7. A new window will pop up, click on Add Features to include required features and management tools.
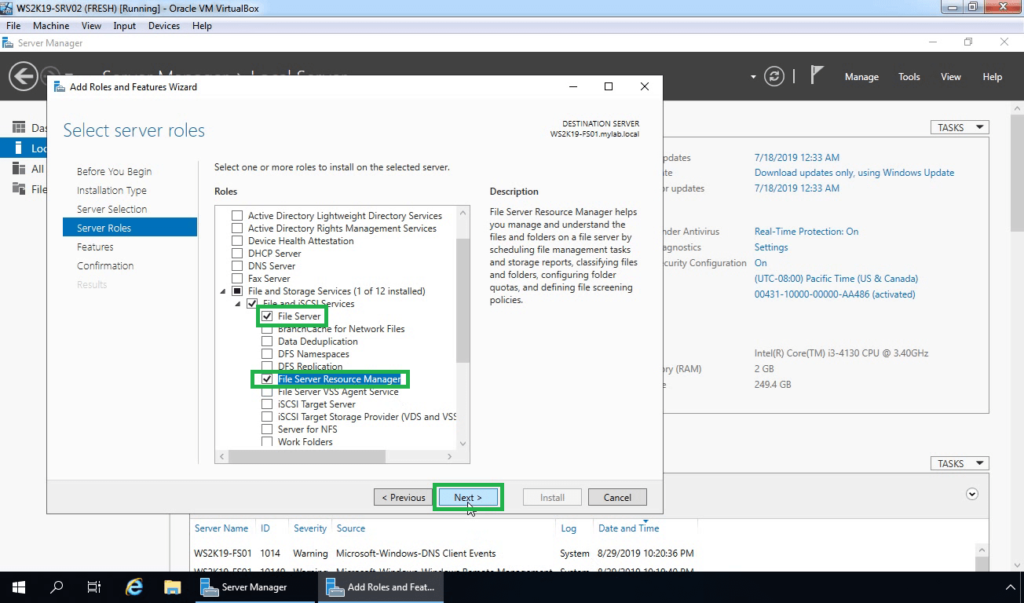
8. Make sure that File Server and File Server Resource Manager server role are selected. Click on Next.
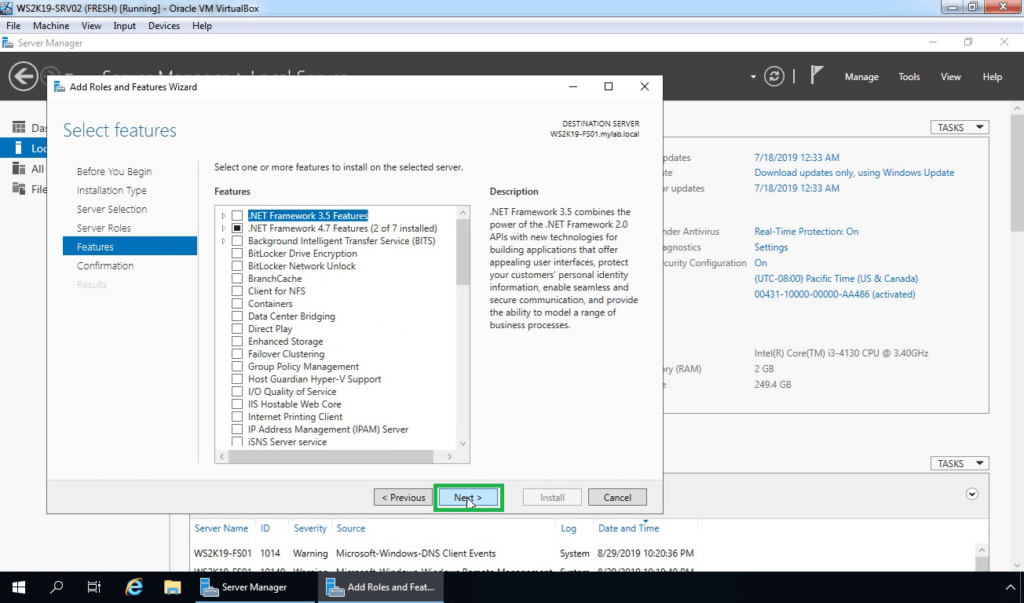
9. On select features page, click Next.
10. Click on Install to start the installation process.

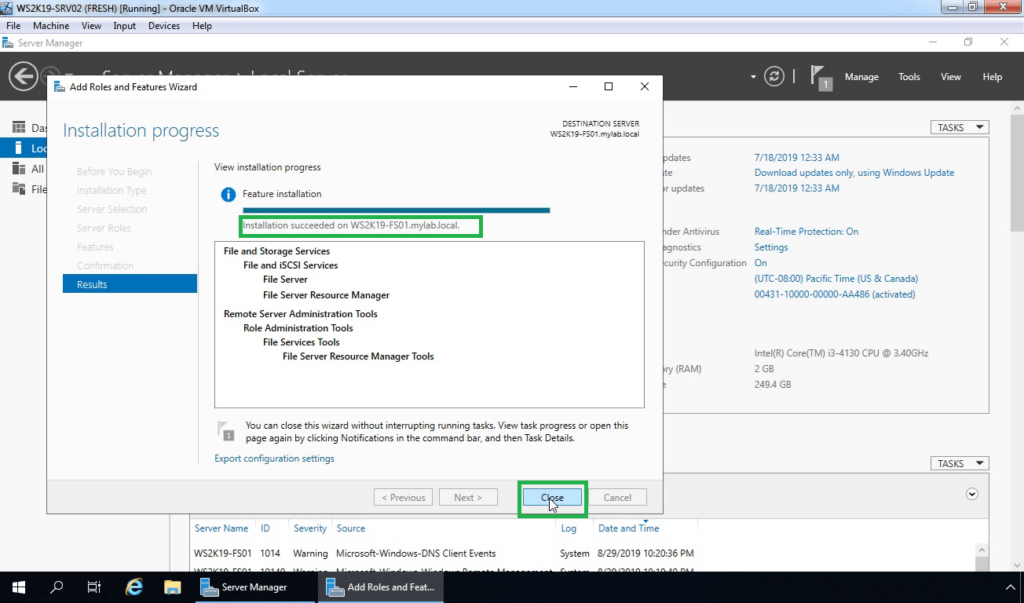
11. When the installation is complete, click the Close button.
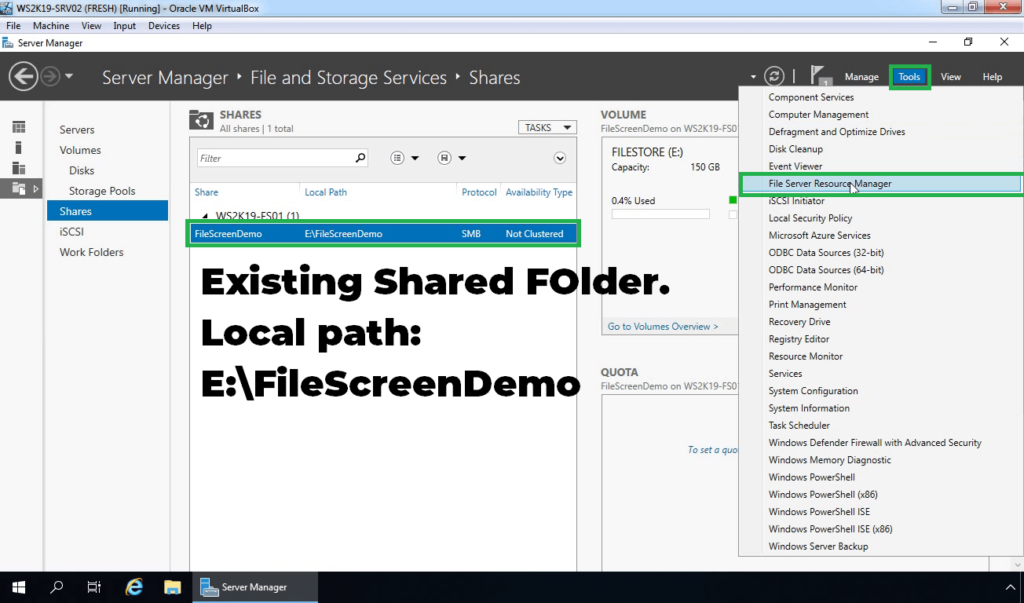
Note: Already I have created one shared folder on our file server for the testing purpose. We will apply File Screening on that shared folder.
Create a File Screen Template:
12. Click on Tools and select the File Server Resource Manager.
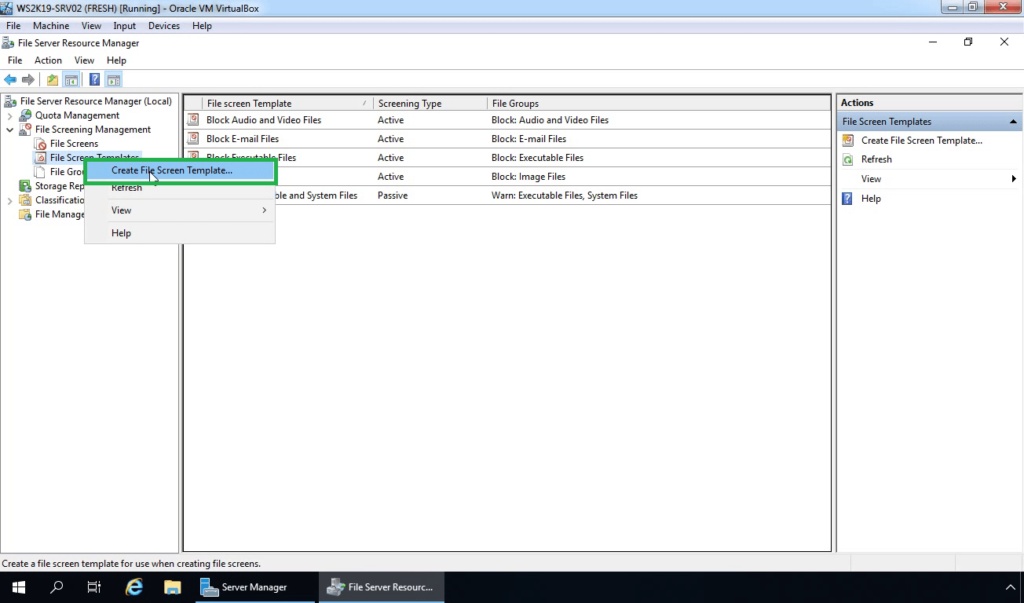
13. On File Server Resource Manager console, expand File Screen Management. Right-click File Screen Template and select Create File Screen Template.
14. In the Template name text box, type a name for a new file screen template.
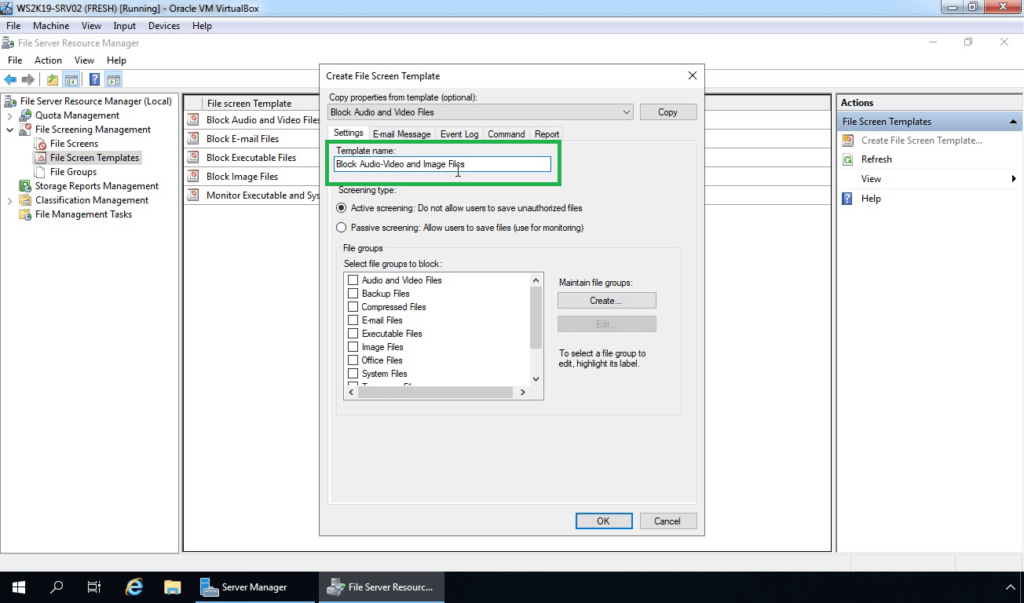
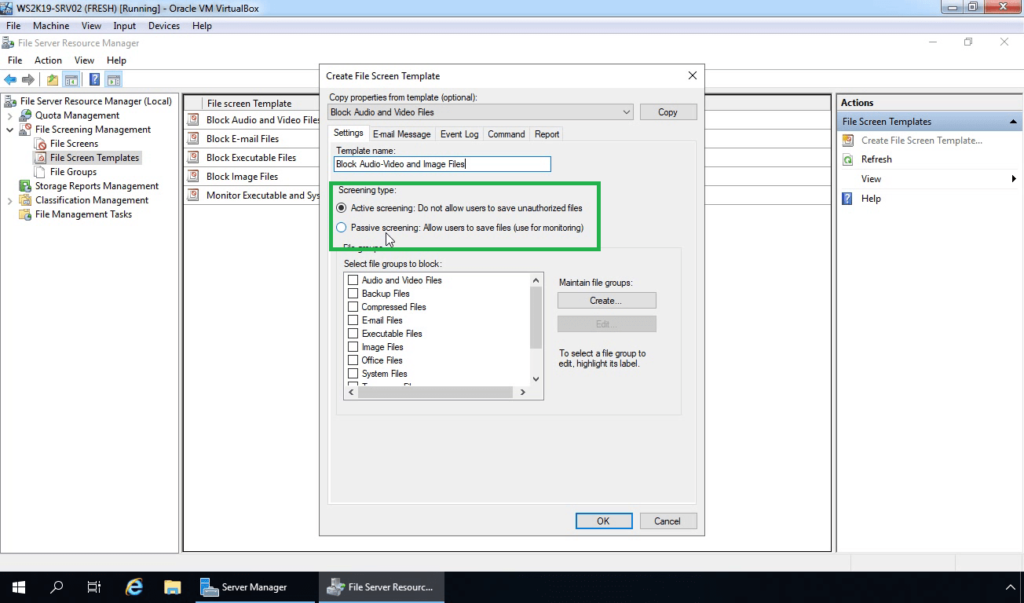
15. Under Screening type, click the Active screening or Passive screening option.
- Active screening prevents users from saving files that are members of blocked file groups and generates notifications when users try to save unauthorized files.
- Passive screening sends configured notifications, but it does not prevent users from saving files.
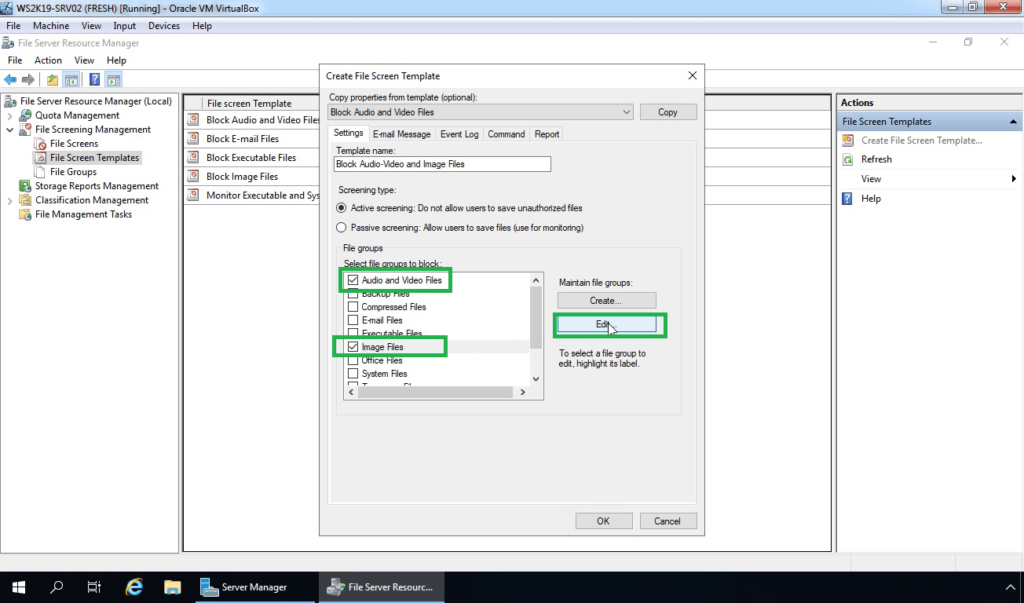
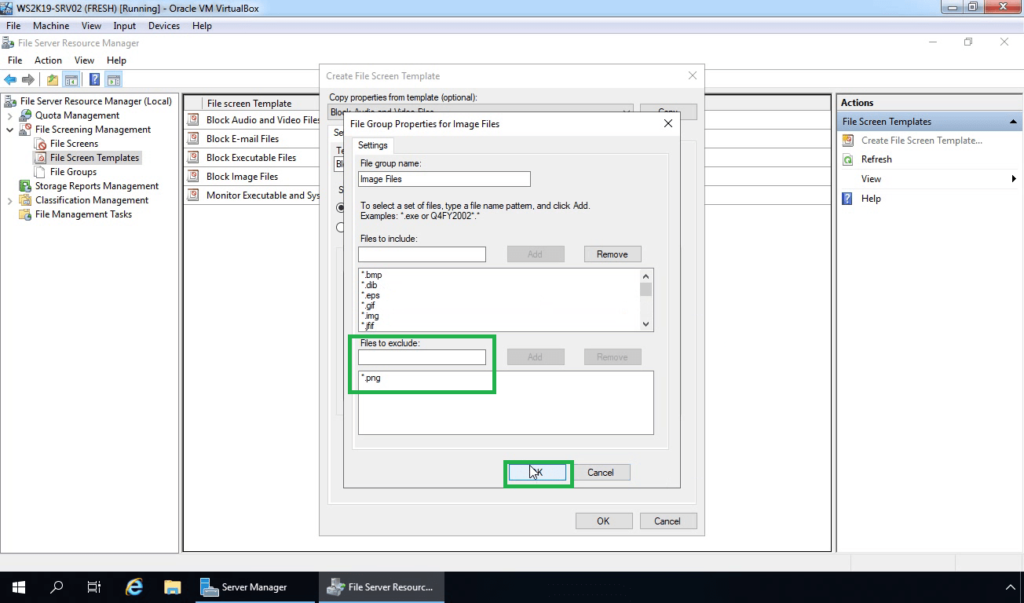
16. Select Audio and Video Files. Select Image Files and click on the edit button. We want to exclude .png file, so users can save only .png files.
17. Under Files to exclude, type *.png and click on Add button. Once you are ready, Click OK.
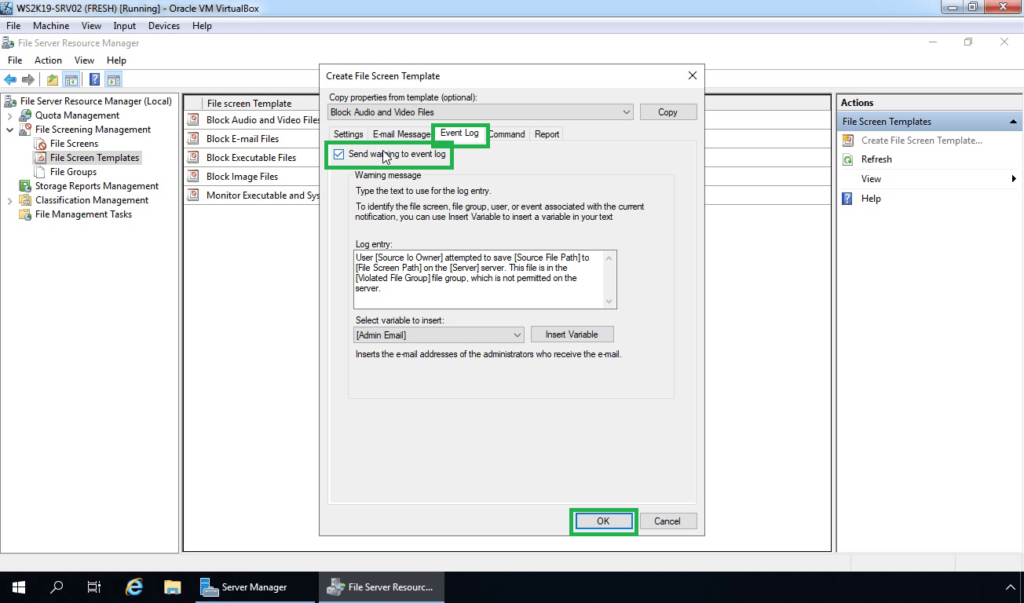
18. Click on Event Log tab, select the Send warning to event log checkbox. Click OK.
Creating File Screen in Windows Server 2019:
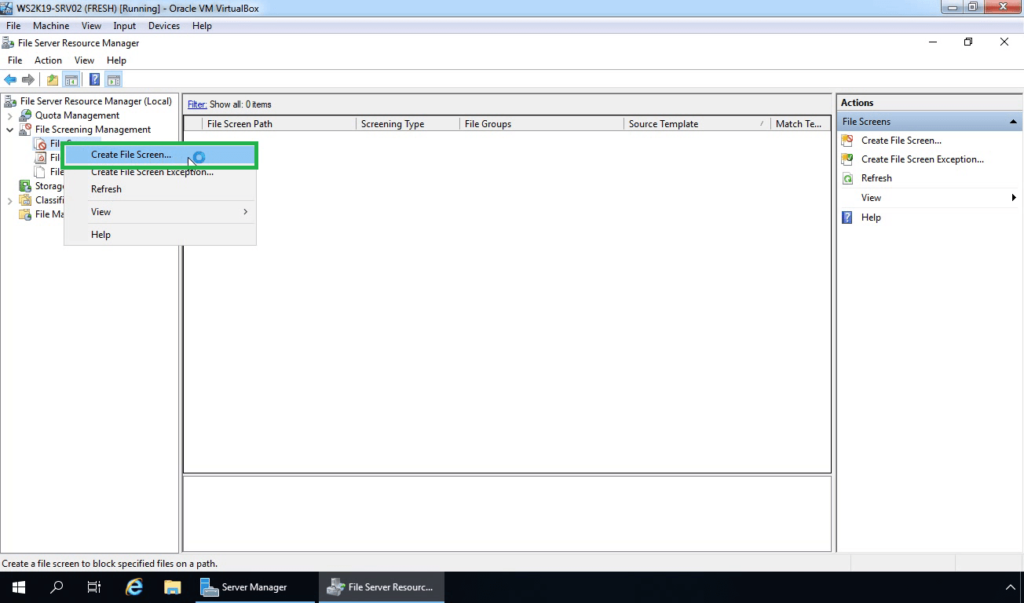
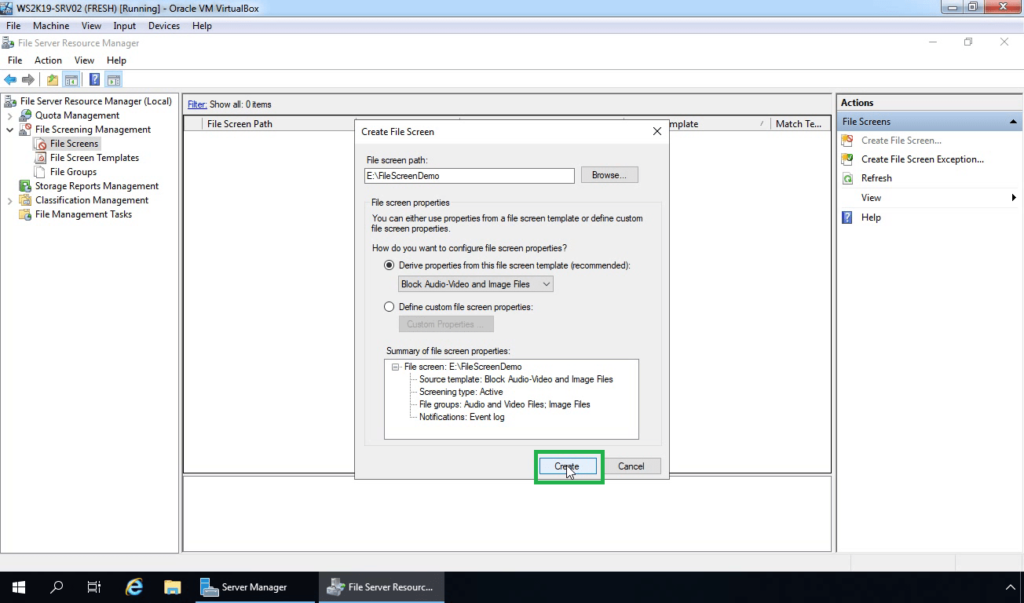
19. Right-click on File Screen and select Create File Screen.
20. Browse the path of the shared folder.
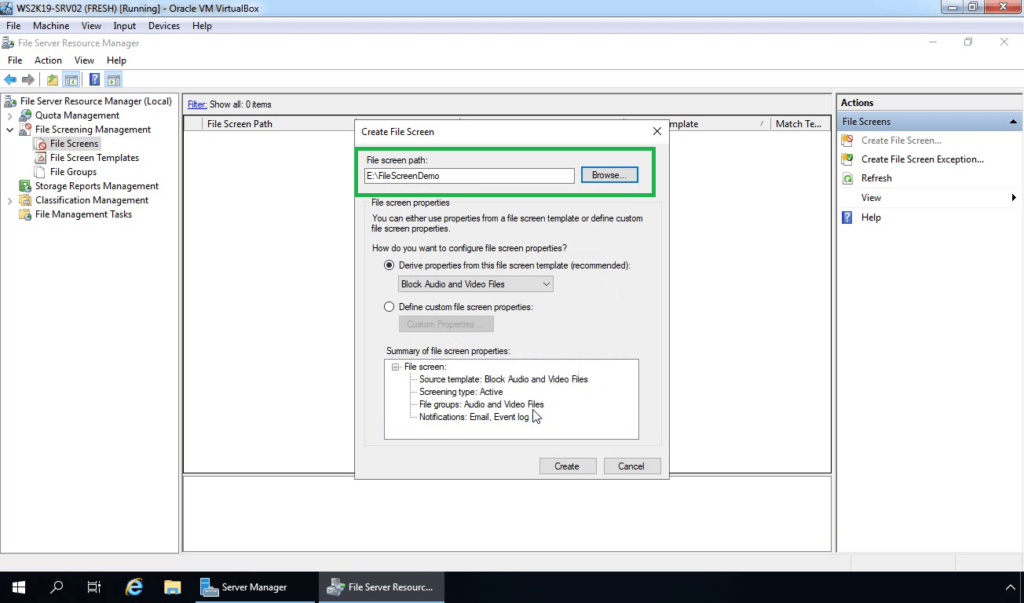
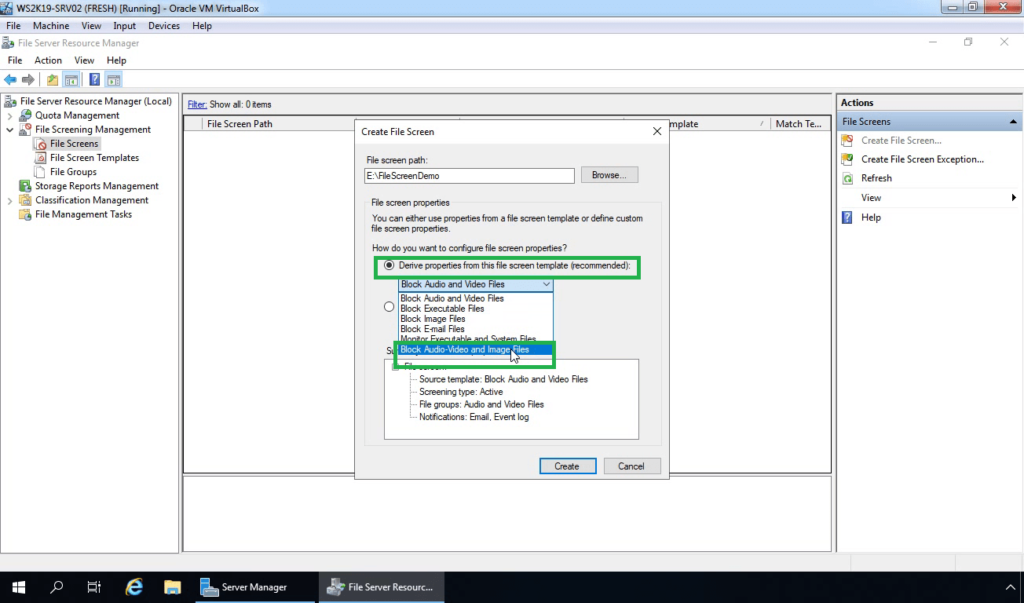
21. Choose the option, Derive properties from this file screen template (recommended). Select the File Screen Template which we have created earlier.
22. Click on Create.
How to test File Screening:
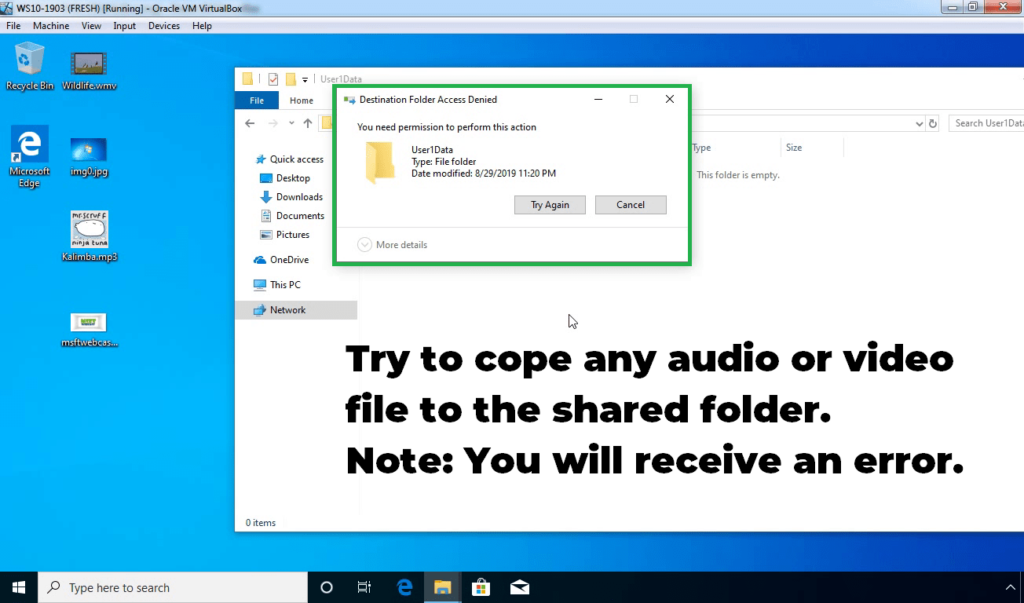
23. On Windows 10 client machine, access the shared folder. Try to copy any audio or video file to the folder for testing purposes.
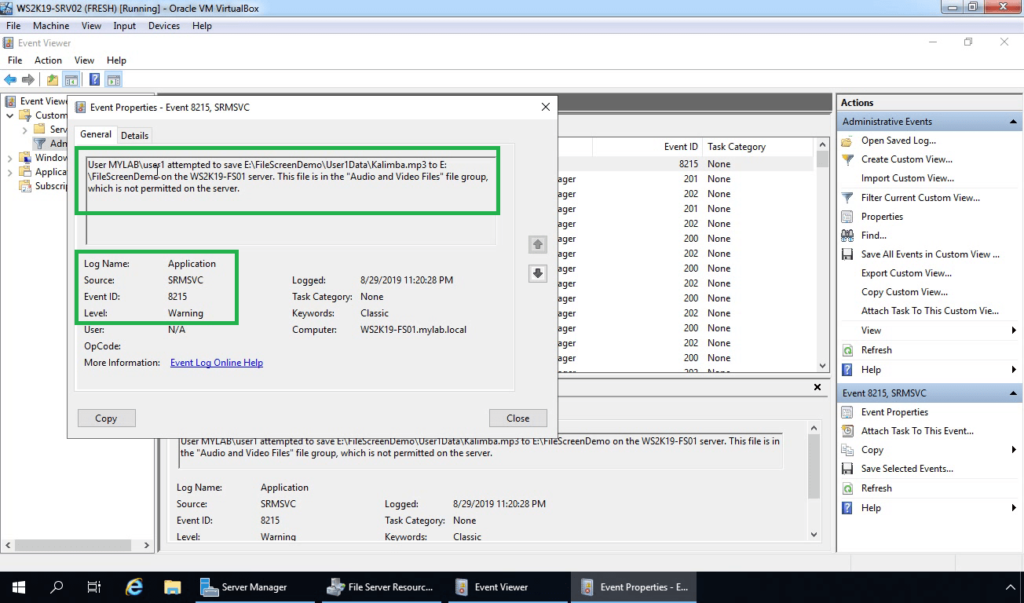
24. On a File server, open event viewer. Look for the event ID 8215.
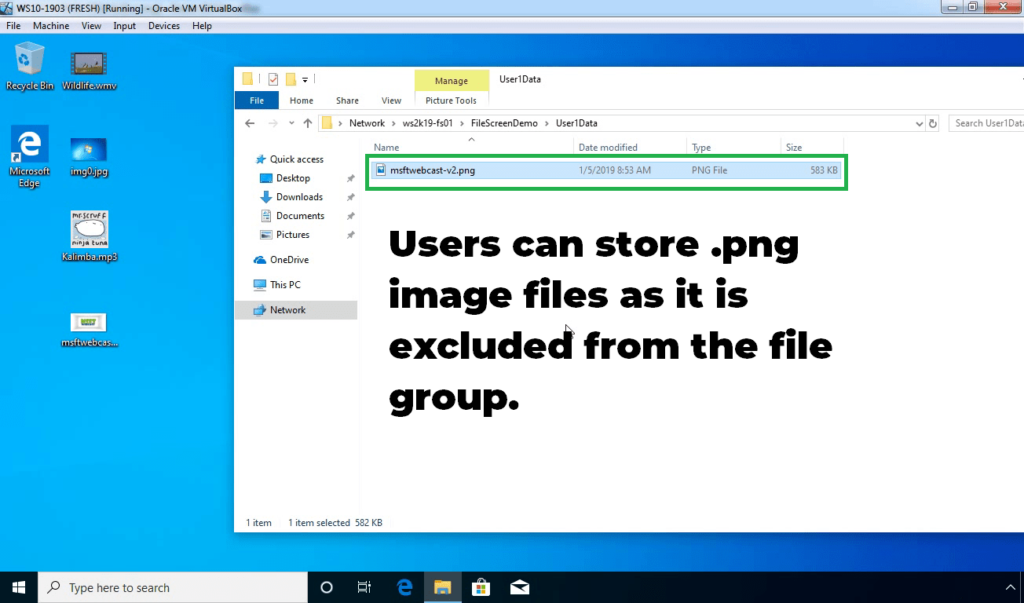
25. If a user tries to save any .png image file then it is allowed as we have added the exclusion entry for .png file.
In this post, we have learned the steps to configure File Screening using file server resource manager in Windows Server 2019.
Hope this will be helpful. Thank you for reading.
